Welcome Back to School
Most school leavers remember that dreaded ‘back to school feeling’ after a long break. Luckily, it doesn’t have to be all bad. We understand that teachers have a busy schedule, but if you’re looking for an easy craft project that can be reused year after year, a welcome back to school banner for your classroom is the one.
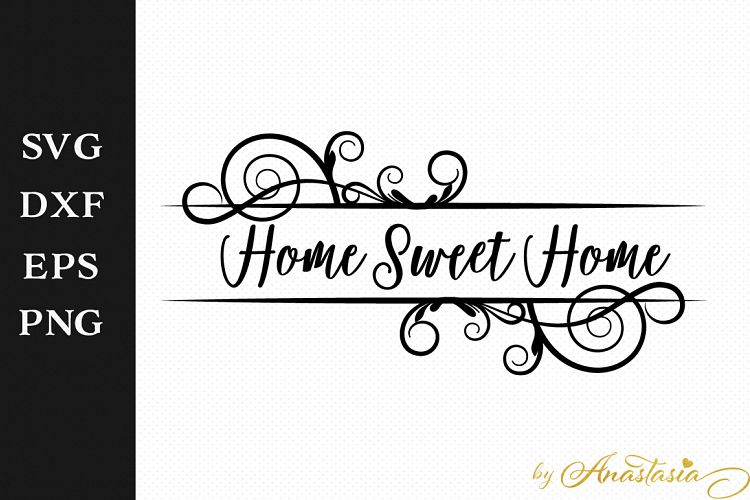
There are specific banner svg files that say ‘welcome back to school’ already in the collection. However, if you would prefer some flexibility, many of the designs can be customized using online software. Each bundle contains numerous file types to allow for different cutting, printing, and design requirements.
For example, the banner svgs files can be used in conjunction with digital cutting machines, whereas PDFs and image files work in tandem with home printers, and can be cut using scissors or a craft knife.
Here’s a top tip: The following is applicable to most of the designs within our banner collection. So whether you’re celebrating the 4th of July, a new arrival, or a birthday, we got you!
Bring Your Banner to Life
Once you have printed (we suggest printing on cardstock) and cut out the individual banner elements either by hand or using a digital cutting machine, it’s time to put them together. The first method is to use adhesive putty to stick each element in the correct order across your classroom.
If you’d like to avoid pesky stains or marks on the wall, you can use string or ribbon to piece the banner together. All you need for this (aside from string or ribbon) is a pencil, some putty, and a craft mat. Use your pencil to mark where you would like to place the string/ribbon through each element. Then stick the putty on the other side of the cardstock, directly behind the mark.
Now place the banner element on a craft mat. Carefully drive the pencil into the front side of the banner element until you feel it going through the cardstock and into the putty. Repeat until each section is ready to string together to complete the banner. To display either tie each end to an object, or use tape to stick each end down flush.